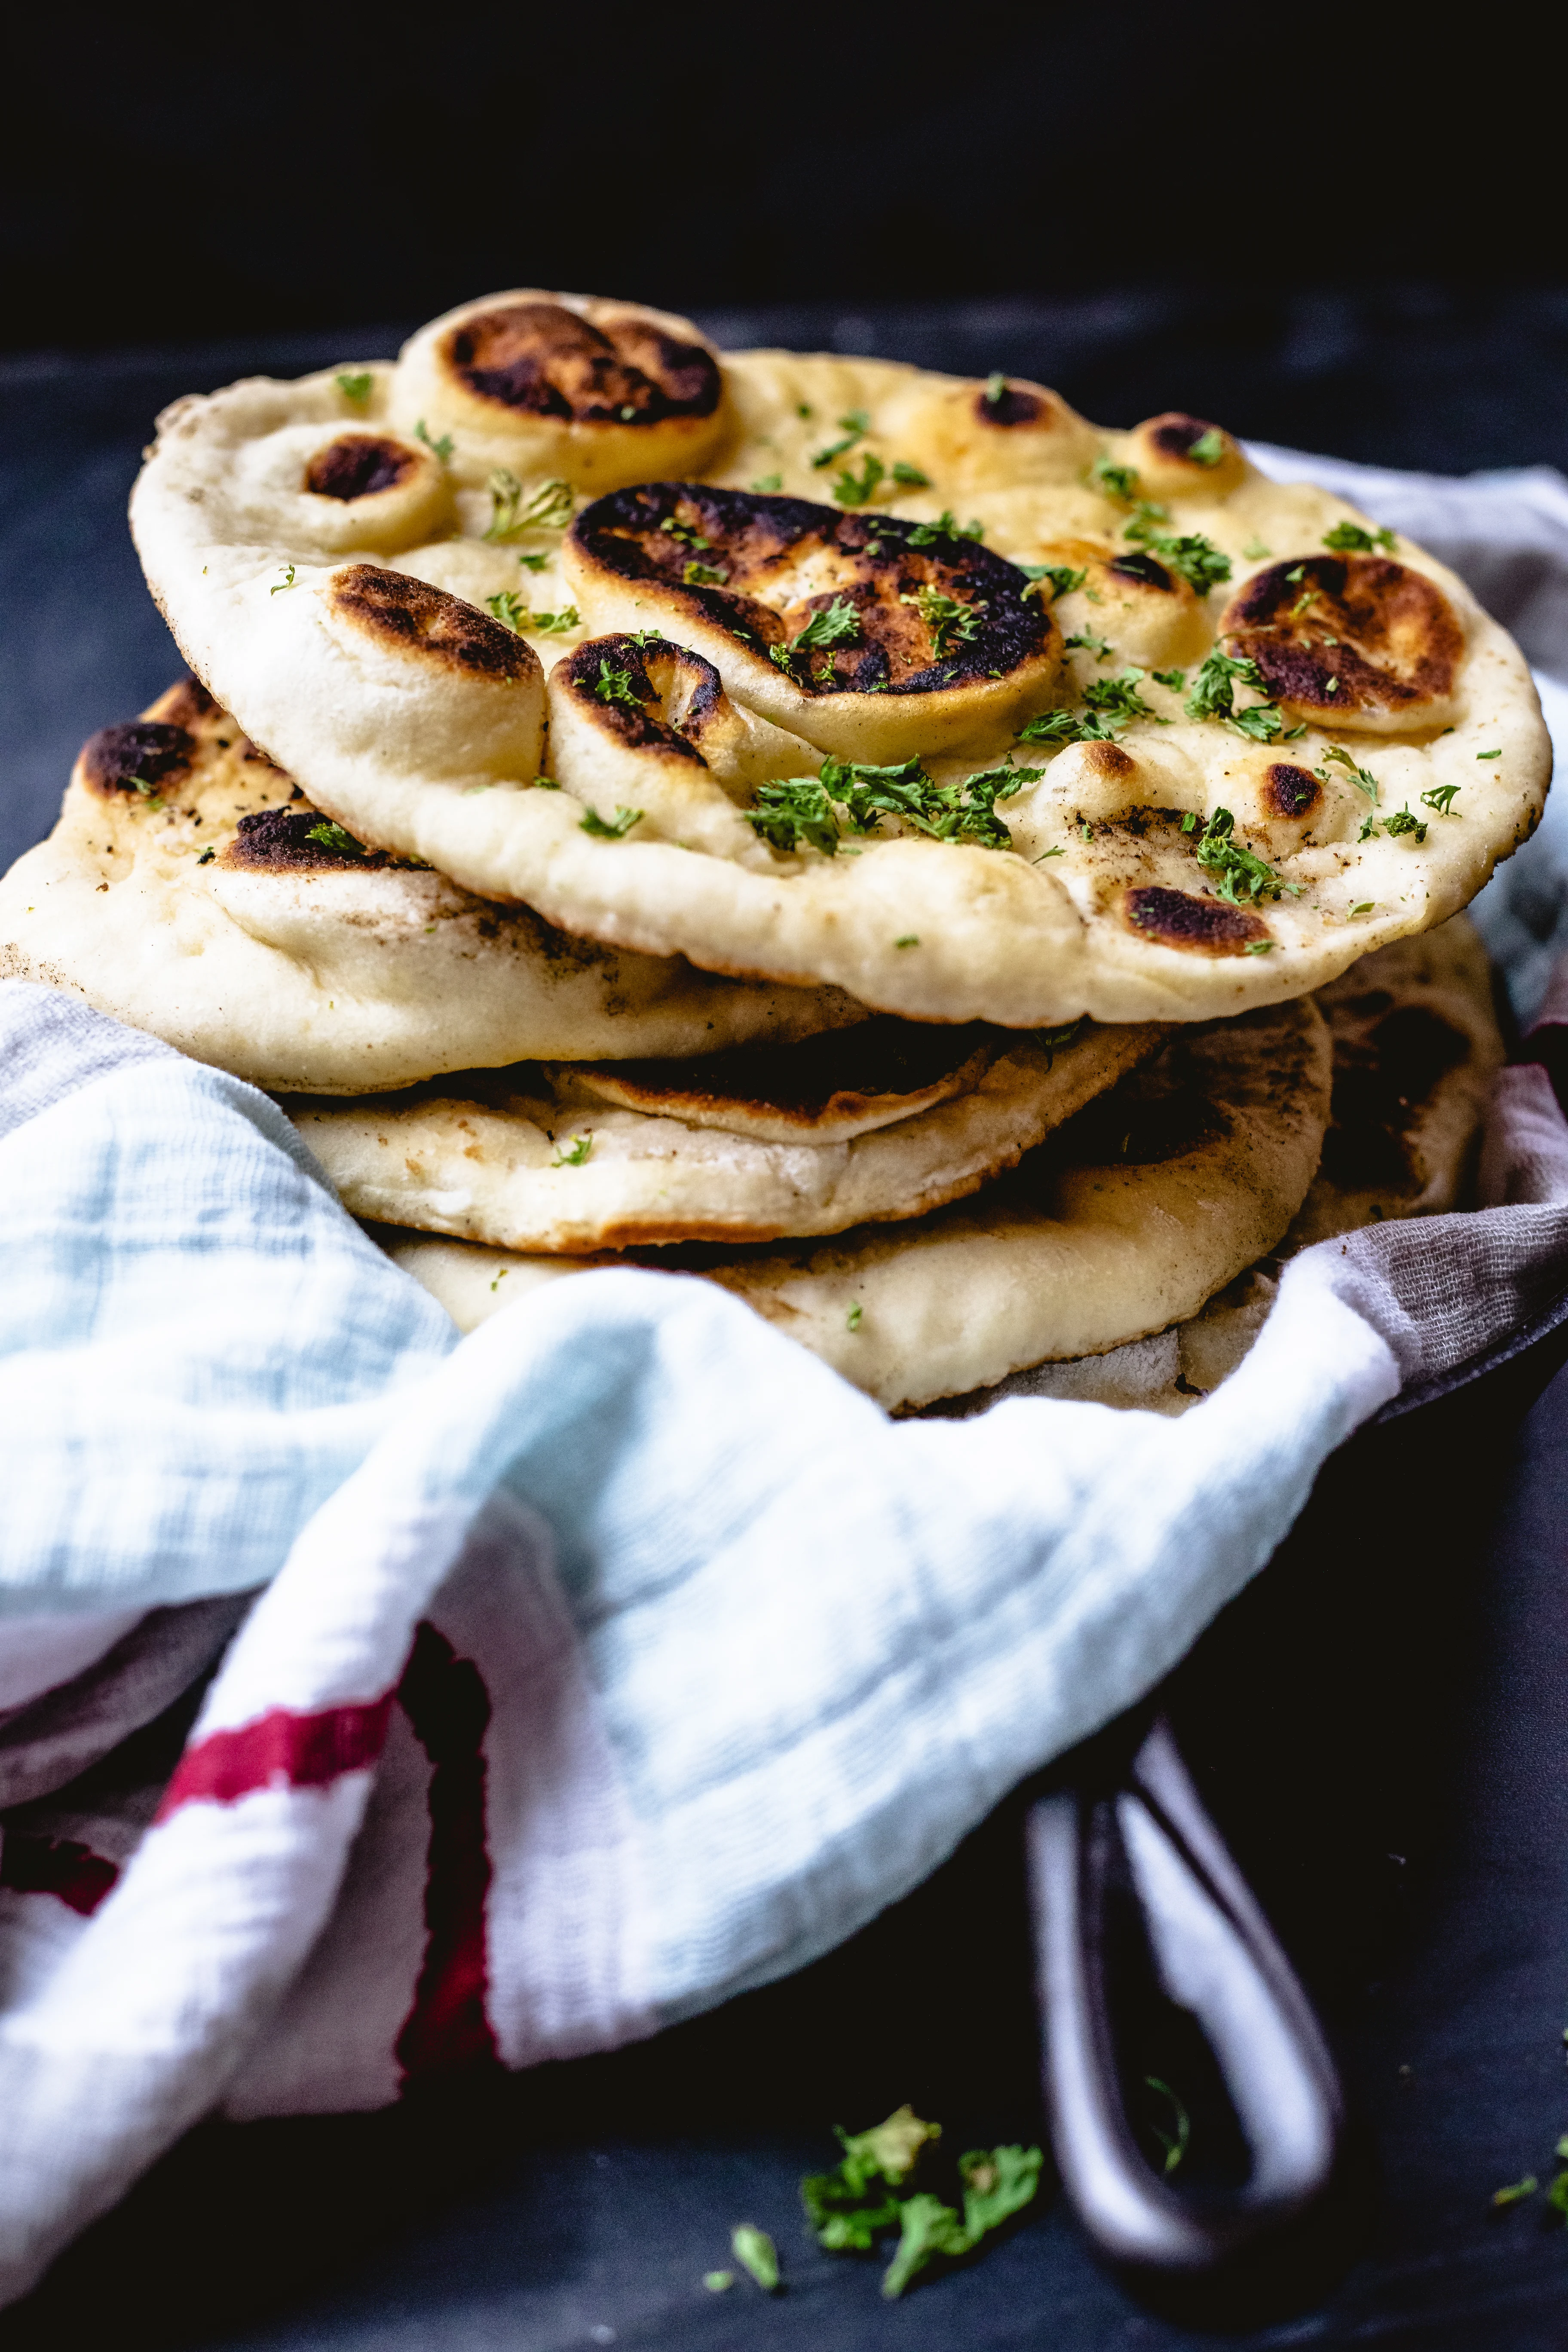
For real, it's kinda silly to call it Naan Bread, because Naan is Indian for bread. But whatever you call it, it's super yummy and it can be used for so much more than scooping up curry (even though it's great at that, too!)
Home Made Naan (Adapted from Once Upon a Chef)
Equipment- You're going to want to use a cast iron skillet for this one and you're going to get it piping hot.
2 Cups AP Flour (Fluff it before you measure it) plus a little more for when you're rolling them out
1 TBSP Sugar
1 TSP Instant Yeast
1 1/2 TSP Kosher Salt
3 TBS Plain Greek Yogurt (I like it much better than regular yogurt, but you can use regular if that's what you have)
2 TBSP Olive Oil
3/4 Cup Warm Water
2 TBSP Melted Butter (You're going to brush this all over the finished Naan so you might need more)
1 TBSP Fresh Chopped Parsely or Dried (Optional)
1. Mix the dry ingredients (Flour through Salt) in a large bowl.
2. Mix all of the wet ingredients (Greek Yogurt through Warm Water) in a medium sized bowl until smooth and combined. Add the wet ingredients to the dry ingredients and mix together with a dough whisk if you have one or you can use a fork. It's going to be shaggy and sticky, but that's ok. Turn it out onto your counter or a pastry board and knead it until it comes together into a ball. You can add flour if it's too sticky, but I'm at altitude so that almost never happens. :)
3. Rinse out your large bowl and add some more olive oil. Add the dough to the bowl, cover with plastic wrap and let it rest for about an hour. If you're at a lower altitude or your kitchen is cooler, you might need to wait an hour and a half to see it double in size.
4. When you've got 10 minutes of rise time left, start heating your cast iron on medium/high heat.
5. Turn your risen dough onto a lightly floured surface and portion it into 6 balls. Gently roll the balls into an oblong shape. These don't have to be perfect, they're rustic!
6. Gently brush off excess flour and place one flatbread onto your skillet. This bad boy is hot, so you'll see it bubble up right away. I cook each side for 1 1/2 minutes and they blister up perfectly. Brush with melted butter and set them on a rack. Move on to the next dough round and repeat.
If you happen to have any leftovers, keep them in a gallon size ziplock with a sheet of wax paper between each one. These make amazing sandwiches or personal pizzas!


0 comments
I'd love to know how this turned out for you! Let me know below.